
Create an email mailbox
Create a mailbox on a domain owned by your account.
Before you begin
Local mail enabled and remaining mailbox allowance.
Use the controls offered by your installed version and account permissions. This guide describes the workflow; it does not grant additional access.
Follow the steps
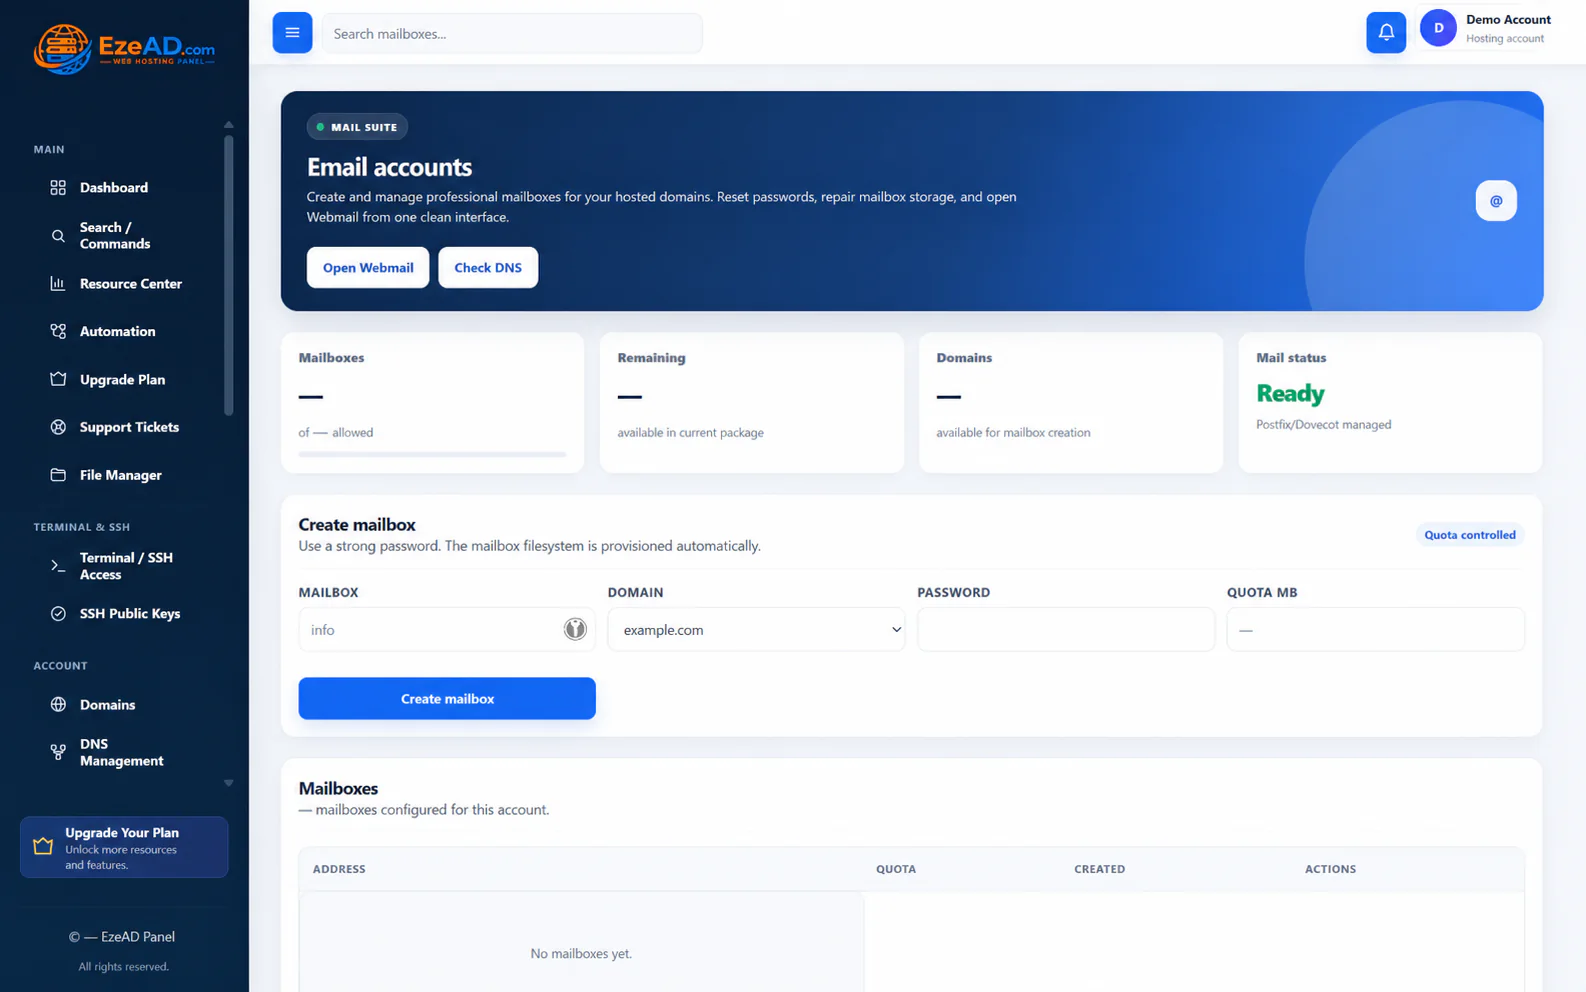
- Open Email Accounts and select the domain.
- Enter mailbox name, strong password and storage quota.
- Save and inspect the result.
- Open Webmail and test login.
- Send an external message to the address, confirm receipt and send a reply.
Check the result
Login and actual inbound/outbound delivery succeed separately.
If something goes wrong
Login can work while routing is wrong. Relay access denied needs provider review of local mail-domain registration and intended routing.
Prepare useful details for support