

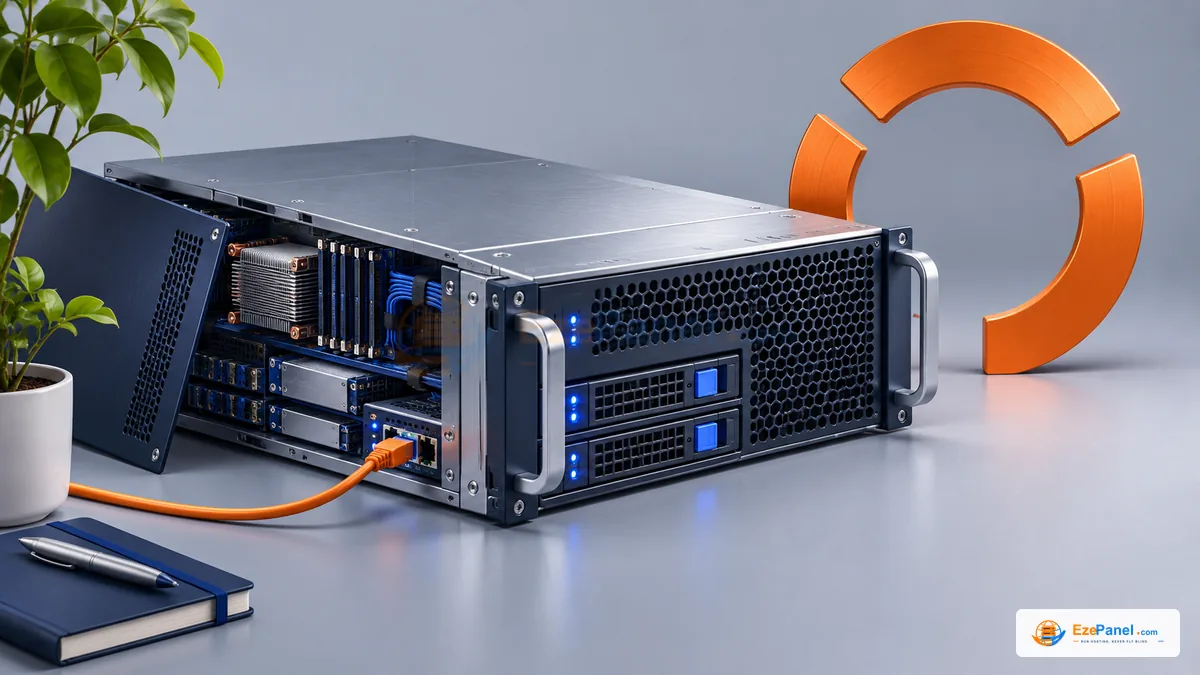
Installing hosting software is a server change, not a website-plugin installation. It provisions services and identities that customer sites will depend on. Use a fresh supported machine, confirm its address and retain the installer log. The steps below explain the EzePanel path without publishing a hard-coded download command that could become obsolete.
Prepare a clean server and a recovery path
Use a fresh Ubuntu Server 24.04 installation that meets the current EzePanel requirements. Ubuntu 22.04 is also supported by the documented installer. Check the exact architecture and resource requirements before ordering or rebuilding a server. Do not install over another panel or a machine already serving customers.
Confirm provider-console access, root SSH access and the public server IP. Preserve any data before reinstalling an OS. A clean image is not proof of future recoverability; keep a plan for the application data you will add later.
Inspect the machine you are connected to
Before running an installer, verify OS and architecture from the session you intend to use. Check available disk and memory against the current requirements. The following commands only inspect the machine; they do not repair compatibility problems or prove no other services exist.
Check that the public address matches the license you intend to activate. If this is a replacement installation, use the supported release-for-transfer workflow where required. A reissued key alone may not free the old installation slot.
cat /etc/os-release
uname -m
free -h
df -h /
Use the customer portal installer
Sign in to app.ezepanel.com, open Install EzePanel or My licenses and select an eligible license. Copy its current installation command unchanged into the root SSH session. Do not use a command copied from an unrelated forum post or an old video.
Keep the foreground installation running and retain its version, phase output and log path. If a phase fails, save the first meaningful error. Do not delete installer state, repeatedly rerun destructive steps or skip validation to obtain a successful-looking result.
Activate and finish first-time setup
Open the address printed by the successful installer and use its generated administrator credentials privately. Enter your license key on the activation screen. Protected runtime-license delivery can be a separate step after entitlement activation; follow the displayed state instead of submitting duplicate activations.
Read and accept the EULA, then finish server setup with the intended identity and network details. Keep passwords and license keys out of support screenshots. Review the resulting license state and the installed version before creating customer accounts.
Verify hosting rather than stopping at login
Create a package and a disposable hosting account within the license allowance. Verify the User Panel, website files, a database and a scoped database user. Publish DNS only when the destination is prepared, then verify HTTPS for the correct name.
If local mail is part of the service, test actual incoming delivery and mailbox access. Review the server provider’s network restrictions separately. Keep a short installation record and a backup plan before onboarding production customers; a successful administrator login is only the beginning.
- Confirm a clean supported OS and the correct public IP.
- Use the current command from the eligible license.
- Retain the installer version and first failing log entry.
- Activate privately and complete the EULA/setup workflow.
What to do between activation and the first customer
Finish the presented agreement and first-time setup before adding a live customer. Confirm the intended hostname, server address and license allocation. Preserve the successful installer log privately and identify where to review an error if a later provisioning task fails.
Next, create a representative hosting account and use its User Panel to add the website files and a database-backed action. Verify the chosen PHP runtime, ownership, DNS and certificate behavior. The authorized installation command comes from the customer portal; avoid copying an old command from a third-party article.
Where to go next
Sources & further reading
Official documentation for the topics in this guide. Check current vendor requirements before a purchase or server change.